How To Connect Raspberry Pi From Outside Network: The Ultimate Guide
Ever wondered how to connect Raspberry Pi from outside network? If you're like me, tinkering with gadgets and setting up remote access is both fun and practical. Whether you're a tech enthusiast or just starting out, connecting your Raspberry Pi remotely opens up endless possibilities. From monitoring your home security system to accessing files on the go, this guide will walk you through everything you need to know.
Let's be honest, working with Raspberry Pi can feel overwhelming at first. But don't worry, we’ve got you covered. This article is packed with actionable tips, step-by-step instructions, and expert advice to help you set up remote access like a pro. No more struggling with complicated jargon or half-baked tutorials.
Connecting Raspberry Pi from outside your network might sound like rocket science, but it’s actually simpler than you think. With the right tools and a bit of patience, you'll be streaming live footage or controlling devices remotely in no time. So, buckle up and let’s dive into the world of remote connectivity!
- Iomovies Your Ultimate Streaming Destination That Rocks
- Movierulz5 Your Ultimate Guide To Streaming Movies Safely And Legally
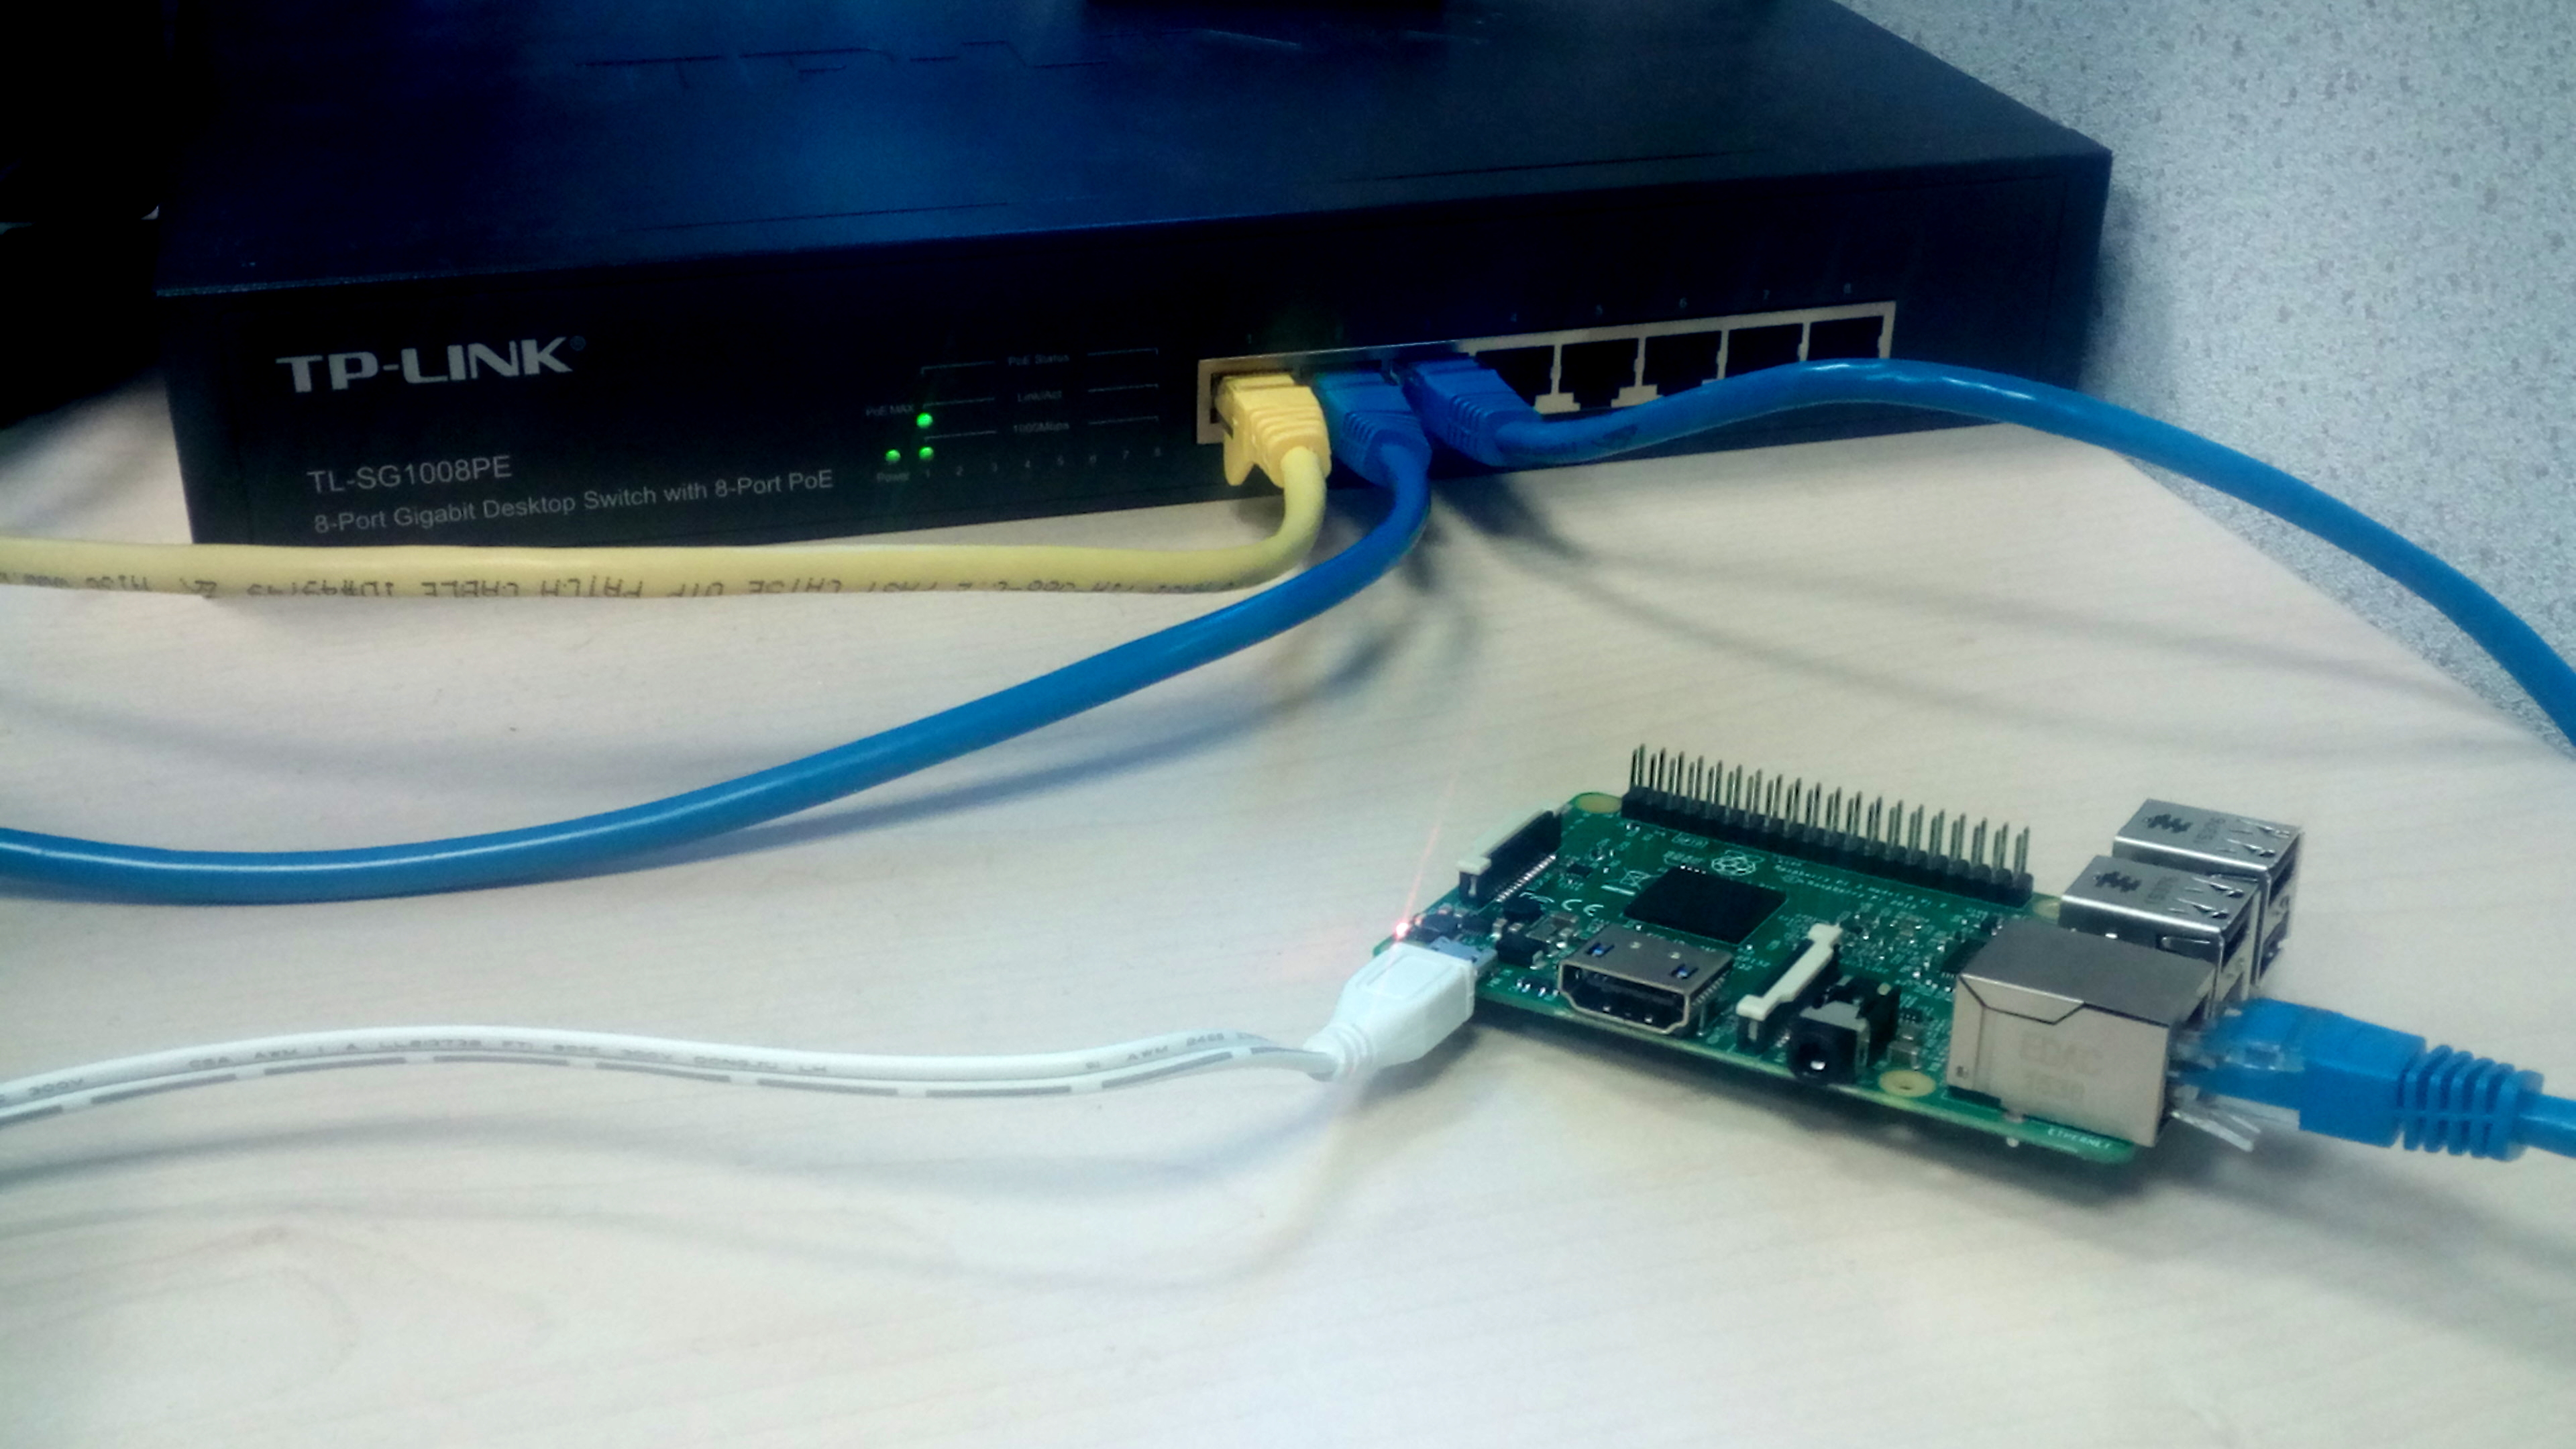
What You Need to Connect Raspberry Pi from Outside Network
Before we jump into the nitty-gritty, let's talk about the tools and software you'll need. Prepping your setup is crucial for a smooth experience. Here's a quick rundown:
- Raspberry Pi (any model will do)
- A stable internet connection
- Raspberry Pi OS (pre-installed or ready to install)
- SSH (Secure Shell) enabled on your Pi
- A static IP address or dynamic DNS service
- Port forwarding configured on your router
These are the essentials, but depending on your specific use case, you might need additional software or hardware. Don't sweat it—we'll cover all that in the next sections.
Understanding SSH: The Backbone of Remote Access
SSH, or Secure Shell, is your best friend when it comes to connecting Raspberry Pi from outside network. It’s a cryptographic network protocol that allows you to securely communicate with your Pi over an unsecured network. Think of it as a secret tunnel that keeps your data safe from prying eyes.
- Moviesmodlol Your Ultimate Destination For Latest Movies And Entertainment
- Why Mp4movies Still Matters In Todays Streaming Era
To enable SSH on your Raspberry Pi, follow these steps:
- Boot up your Raspberry Pi and log in.
- Open the terminal and type
sudo raspi-config. - Navigate to the "Interfacing Options" menu.
- Select SSH and enable it.
- Reboot your Pi to apply the changes.
That's it! You're now ready to SSH into your Pi from anywhere in the world. Easy, right?
Setting Up a Static IP Address
Assigning a static IP address to your Raspberry Pi is essential for consistent remote access. Without it, your Pi's IP might change every time it reconnects to the network, making it impossible to establish a stable connection.
Here's how you can set up a static IP address:
- Open the terminal and type
ifconfigto find your current IP address. - Locate your network interface (usually eth0 for Ethernet or wlan0 for Wi-Fi).
- Edit the dhcpcd configuration file by typing
sudo nano /etc/dhcpcd.conf. - Add the following lines at the end of the file:
 interface eth0
 static ip_address=192.168.1.100/24
 static routers=192.168.1.1
 static domain_name_servers=192.168.1.1
Save the file and reboot your Pi. Voila! Your Pi now has a fixed IP address.
Why Static IP Matters
A static IP ensures that your Pi remains reachable from the same address every time. This is particularly important when configuring port forwarding or using dynamic DNS services. Trust me, you don’t want to deal with a constantly changing IP address—it’s a headache waiting to happen.
Configuring Port Forwarding on Your Router
Port forwarding is the process of redirecting incoming traffic from the internet to a specific device on your local network—in this case, your Raspberry Pi. It’s like giving your Pi a virtual address that’s accessible from anywhere.
Here's a step-by-step guide to setting up port forwarding:
- Log in to your router's admin interface (usually by typing 192.168.1.1 in your browser).
- Find the port forwarding or virtual server settings.
- Create a new rule and specify the following:
- Service Name: Raspberry Pi
- External Port: 22 (for SSH)
- Internal IP Address: Your Pi's static IP
- Internal Port: 22
That’s all there is to it. Your router is now configured to direct incoming SSH traffic to your Raspberry Pi.
Common Issues with Port Forwarding
Port forwarding can sometimes be finicky. If you’re having trouble, here are a few things to check:
- Ensure your router supports port forwarding.
- Double-check the IP address and port numbers.
- Restart your router if necessary.
- Use a tool like CanYouSeeMe.org to verify that the port is open.
Still stuck? Don’t worry, we’ll cover troubleshooting tips later in the article.
Using Dynamic DNS Services
Dynamic DNS (DDNS) is a lifesaver if your internet service provider assigns a dynamic IP address. Instead of memorizing a long string of numbers, you can assign a friendly domain name to your Pi. Services like No-IP or DuckDNS make this process a breeze.
Here's how to set up DDNS with DuckDNS:
- Create a free account at duckdns.org.
- Choose a domain name and note the token provided.
- Install the DuckDNS client on your Raspberry Pi by running
curl https://www.duckdns.org/install.sh | bash. - Follow the prompts to enter your domain and token.
- Restart your Pi to complete the setup.
Now, instead of typing a long IP address, you can simply use your custom domain to connect to your Pi.
Benefits of DDNS
With DDNS, you never have to worry about your IP address changing. It’s like having a permanent address for your Pi, no matter where you are. Plus, it’s free and super easy to set up. What’s not to love?
Securing Your Remote Connection
Security should always be a top priority when connecting Raspberry Pi from outside network. Exposing your Pi to the internet without proper safeguards is like leaving your front door wide open. Here are some tips to keep your setup secure:
- Change the default SSH port from 22 to something less obvious (e.g., 2222).
- Disable password authentication and use SSH keys instead.
- Install a firewall to block unauthorized access.
- Regularly update your Raspberry Pi OS and software.
By following these best practices, you can enjoy the convenience of remote access without compromising your security.
Why SSH Keys Are Better Than Passwords
SSH keys provide a much more secure authentication method than passwords. They’re virtually impossible to brute-force and eliminate the risk of weak or reused passwords. Setting up SSH keys is simple:
- Generate a key pair on your local machine by running
ssh-keygen. - Copy the public key to your Pi using
ssh-copy-id pi@your-pi-address. - Disable password authentication by editing the SSH config file (
/etc/ssh/sshd_config) and settingPasswordAuthentication no. - Restart the SSH service with
sudo service ssh restart.
With SSH keys in place, you can rest easy knowing your Pi is protected from unauthorized access.
Testing Your Remote Connection
Now that everything is set up, it's time to test your connection. Open a terminal on your local machine and type:
ssh pi@your-pi-domain
If everything is configured correctly, you should see the Raspberry Pi login prompt. Enter your password or use your SSH key to authenticate, and you're in!
Try running a few commands to ensure everything is working as expected. For example:
lsto list filessudo apt updateto check for updateshostname -Ito verify the IP address
Congratulations! You’ve successfully connected to your Raspberry Pi from outside your network.
Troubleshooting Common Issues
Even the best-laid plans can go awry. If you’re having trouble connecting, here are a few things to check:
- Ensure your Pi is powered on and connected to the internet.
- Double-check your static IP and port forwarding settings.
- Verify that SSH is enabled and running on your Pi.
- Make sure your DDNS service is correctly configured.
- Check your firewall rules to ensure they’re not blocking the connection.
If all else fails, consult your router's documentation or reach out to your internet service provider for assistance.
Advanced Tips for Power Users
Once you’ve mastered the basics, there are plenty of advanced techniques to explore. Here are a few ideas to take your Raspberry Pi setup to the next level:
- Set up a reverse SSH tunnel for secure access behind firewalls.
- Install a VNC server for graphical remote access.
- Configure a VPN for encrypted communication.
- Use a cloud-based service like ngrok for quick and easy remote access.
These tools can enhance your setup and provide even more flexibility. Experiment with them to find what works best for your needs.
Why Advanced Techniques Matter
As your projects grow in complexity, so will your requirements for remote access. Advanced techniques like reverse SSH tunnels and VPNs can provide an extra layer of security and functionality. They might seem intimidating at first, but with a little practice, you’ll be a pro in no time.
Conclusion
Connecting Raspberry Pi from outside network doesn’t have to be a daunting task. With the right tools and a bit of patience, you can set up a secure and reliable remote connection in no time. From enabling SSH to configuring port forwarding and DDNS, this guide has covered everything you need to know.
Remember, security is paramount. Always follow best practices to protect your Pi from unauthorized access. And don’t forget to test your setup thoroughly to ensure everything is working as expected.
Now it’s your turn! Share your experience in the comments below. Did you encounter any challenges? What projects are you working on with your Raspberry Pi? And if you found this article helpful, don’t forget to share it with your friends and fellow tech enthusiasts.
Table of Contents
- What You Need to Connect Raspberry Pi from Outside Network
- Understanding SSH: The Backbone of Remote Access
- Setting Up a Static IP Address
- Configuring Port Forwarding on Your Router
- Using Dynamic DNS Services
- Securing Your Remote Connection
- Testing Your Remote Connection
- Troubleshooting Common Issues
- Advanced Tips for Power Users
- Conclusion
- Sites Like Solarmovie Your Ultimate Guide To Legal Streaming Platforms
- Multimovies Icu Your Ultimate Streaming Haven

Raspberry Pi Connect Beta Access your Raspberry Pi from anywhere

Create A Raspberry Pi Network With Piserver Tool
Connect Raspberry Pi To Through Laptop Raspberry
